READ THIS FIRST —> 
@hmwillett linked to this as the potential new recommended way to add custom fields to grids. While this post does have most of the information, it may not be the best example of what to do, especially if you don’t know what you are doing.
I will make a new thread soon with the basics in a safe way.
<— READ THIS FIRST
Ok, here is how I did it.
For the first part, here is what I did. I don’t think you actually need to do this part, since you said
your layer was working fine, but this is how it can be done.
Also, since the Kinetic Web Interface is still very much in flux, this may change at some
point and break, or need to be altered.
Remember, with great power, comes great responsibility…
When you click on Job Entry, the web interface calls the MetaFXSvc with a GET request like this:
https://yourserverurl/api/v1/Ice.LIB.MetaFXSvc/GetApp?request={"id":"Erp.UI.JobEntry","properties":{"deviceType":"Desktop","layers":[],"mode":null,"applicationType":"view","additionalContext":{"doValidation":false,"menuId":"UDJEC"},"checkDuplicateIds":false,"debug":false}}
That request is a json object like this:
request:
{
  "id": "Erp.UI.JobEntry",
  "properties": {
    "deviceType": "Desktop",
    "layers": [],
    "mode": null,
    "applicationType": "view",
    "additionalContext": {
      "doValidation": false,
      "menuId": "UDJEC"
    },
    "checkDuplicateIds": false,
    "debug": false
  }
}
The MetaFXSvc is a business object. Which means it has methods that can be manipulated.
You can find the MetaFX Service under Method Directives “ICE” → “Simple Service” → “MetaFX”
You will add a Post-Processing Directive on that.
Here is my code that added the fields to the JSON, that the web client shell loads.
//using Newtonsoft.Json;
//using Newtonsoft.Json.Linq;

if(request.id == "Erp.UI.JobEntry")
{
    dynamic result2 = (dynamic)result;

    JArray columns = result2.Layout.components[0].model.gridModel.columns;

    columns.Add(new JObject(new JProperty("field", "ShortChar02")));
    columns.Add(new JObject(new JProperty("field", "Number01")));
    columns.Add(new JObject(new JProperty("field", "PrntRLQty_c")));

    JObject palletLabelQty = new JObject();
      palletLabelQty.Add( new JProperty("field", "PrntPLQty_c") );
      palletLabelQty.Add( new JProperty("title", "Pallet Lable Qty") );

    columns.Add(palletLabelQty);
}
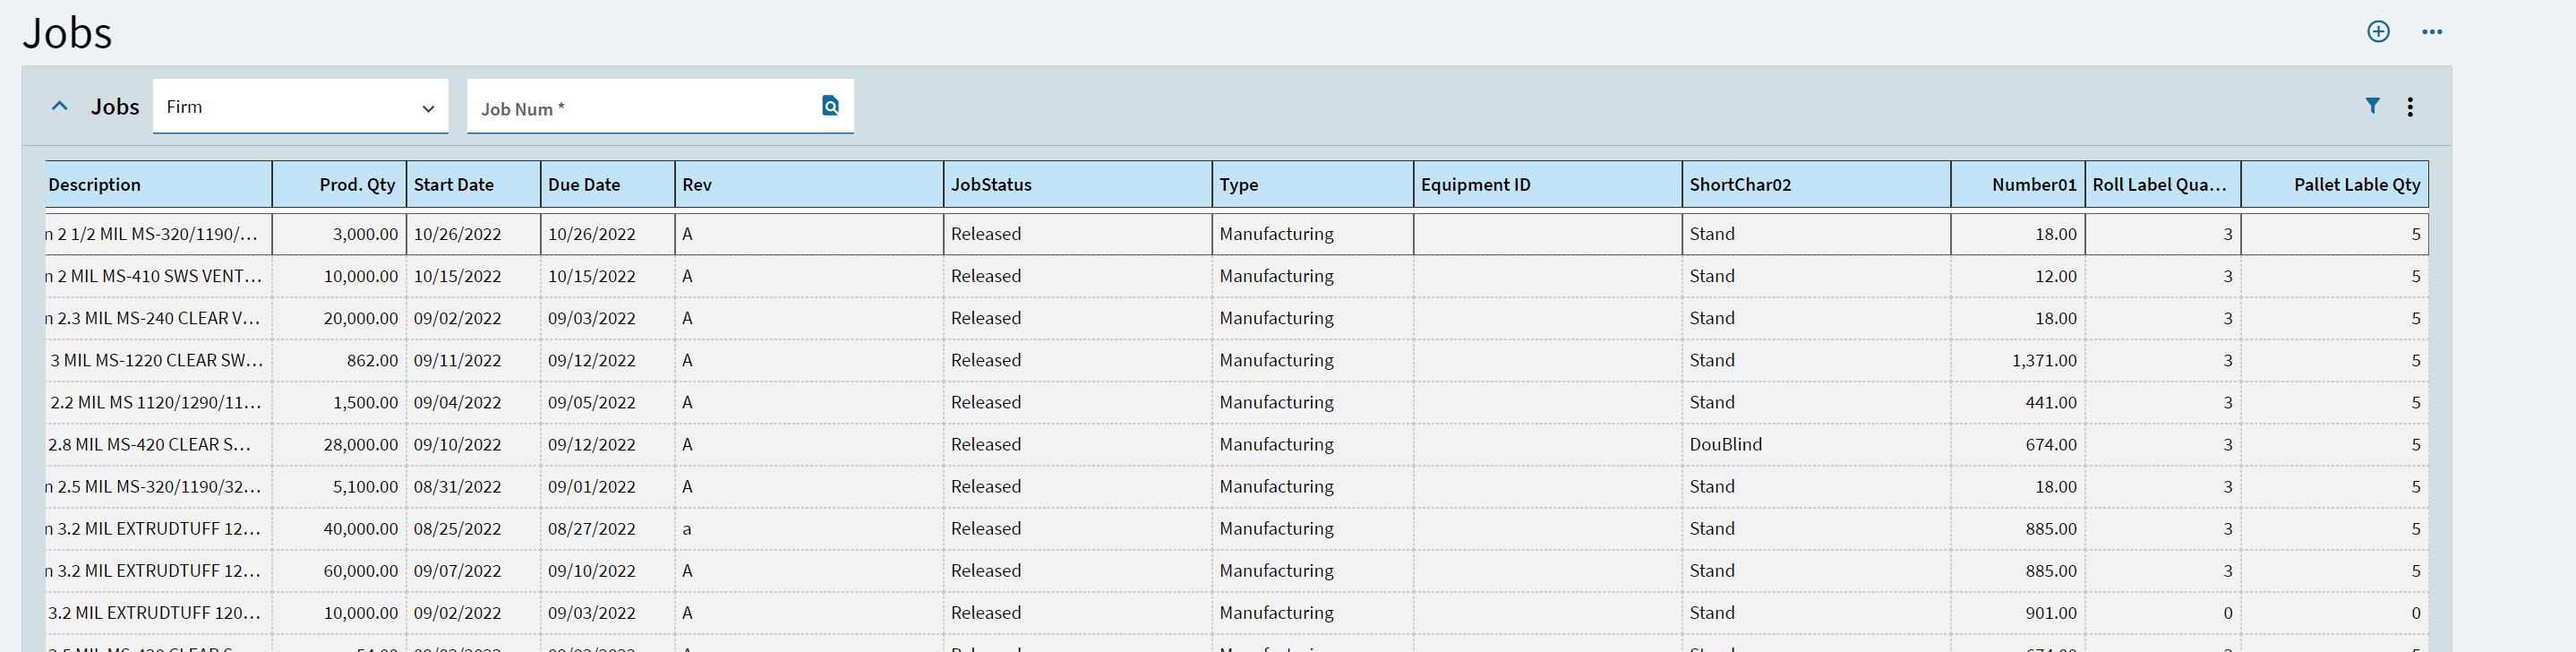
And that will add your fields to the Landing Page. No customization required.
OK, on to the second part.
The app calls GetList from the Erp.BO.JobEntry Business Object.
The dataset does not include any UD fields by default. Here is what I did:
I added a Post-Processing Directive to “ERP” → “Business Object” → “JobEntry”
and here is the code:
//Probably a more efficient way to do this? But anyway...
var newFieldsDictionary = (from table1 in result.JobHeadList.AsEnumerable()
                 join table2 in Db.JobHead.AsEnumerable()
                 on table1.JobNum equals table2.JobNum
                 select new
                 {
                    JobNum = table1.JobNum,
                    NewFields = new
                    {
                        ShortChar02 = table2.ShortChar02,
                        Number01    = table2.Number01,
                        PrntPLQty_c = table2.PrntPLQty_c,
                        PrntRLQty_c = table2.PrntRLQty_c
                    }
                 }).ToDictionary(getKey => getKey.JobNum, getValue => getValue.NewFields);

//Add these columns/fields to the DataSet
foreach(var row in result.JobHeadList)
{
    row["ShortChar02"] = newFieldsDictionary[row.JobNum].ShortChar02;
    row["Number01"]    = newFieldsDictionary[row.JobNum].Number01;
    row["PrntRLQty_c"] = newFieldsDictionary[row.JobNum].PrntRLQty_c;
    row["PrntPLQty_c"] = newFieldsDictionary[row.JobNum].PrntPLQty_c;
}
And that was it.
I will post a sample in the next post so people can see some of the json.