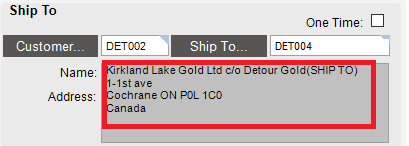
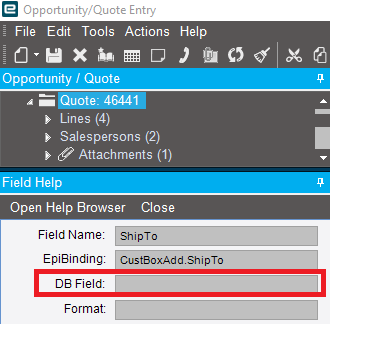
If you’ve added a Relationship in the RDD (joining two tables)… you need to also create that relationship join in SSRS (Report Builder).
I’ll try to walk through it. Others can jump in if I miss anything…
In Report Builder, we need to recreate this new relationship.
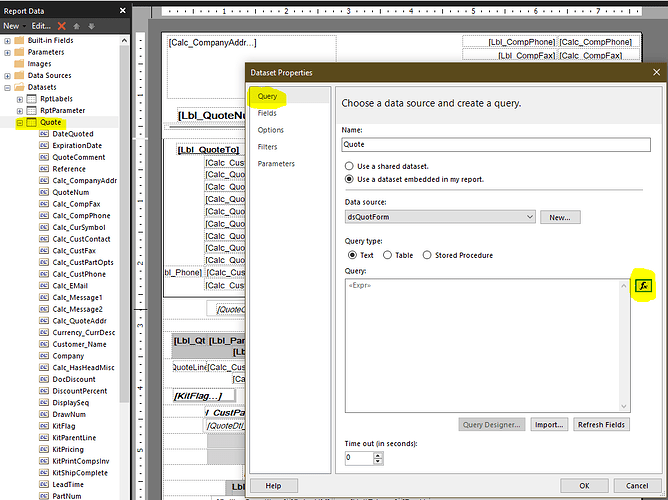
- Right-Click on the Quote Dataset… choose “Dataset Properties”
- Query should be selected in the left hand of the pop-up window…
- Click on the “fx” button to look at the expression
The Expression window may look pretty messy, but you can add some carriage returns to clean things up and make it more readable. (See second image below)
Anything after “FROM” is where the tables are joined together for the query.
So… in this case you would want to add a new join… put your cursor just before the quotation mark at the very end… add a SPACE… then click “Enter” to start a new line. If you don’t add that space, your query may fail as it may treat it like a big run-on sentence. I’ve lost a lot of time thinking my query was wrong and finally realizing that I didn’t have a space there.
Here is the relationship join in the RDD:
We need to add this to the Report Builder query… Copy and Paste one of the existing joins… and then we will alter… So I copy/pasted the last join… and now have this:
Below is the altered query (changes highlighted in red). In English…
-
We’re adding the ShipTo table… and we’re going to call it “T4”
-
“T1” is already the designation for the QuoteHed table… so, just like we did in the RDD, we want to build the relationship between “T1” (QuoteHed), and our new “T4” (ShipTo)
-
We’re joining this table “ON” T1.Company = T4.Company AND T1.CustNum = T4.CustNum AND T1.ShipToNum = T4.ShipToNum
… again, these are the same field relationships we used in the RDD.
This now completes joining the new table to your query (in Report Builder).
The next thing you need to do is add whatever fields you want to use in your report.
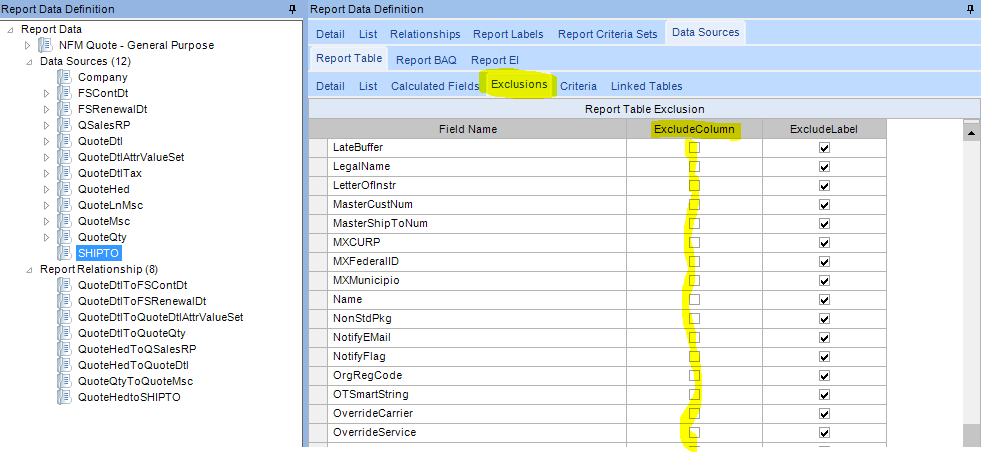
In the RDD (sorry for all the bouncing around)… make sure you include whatever “columns” you want to be able to use in your report. Highlight the SHIPTO table you added as a data source… go to the “Exclusions” tab and make sure you UNCHECK fields you want to add to your report. I will generally use the Actions menu and “Include all Columns”. I don’t know if this is true or not… but I was told adding all columns will not greatly impact speed of the report… but including all LABELS will. Again, not sure if that’s true or not, but that’s how I roll.
So… if you want to include the ShipTo “Name” and “PhoneNum” for example, make sure those are UNCHECKED in the RDD… and then add those to your Report Builder Query.
Back to Report Builder… I generally do this right at the top of the query so all my “added” columns are easy to find later:

Again, “T4” is the designation for the ShipTo table, and we’re adding “Name” and “PhoneNum”. I will generally use an “AS” statement for these types of fields because “Name” and “PhoneNum” can be used on multiple tables within Epicor… so in this case, I’m adding T4.Name AS ShipToName.
That should do it for your query set up… but we still need to add the “Fields” so you can use them in your report.
Click “OK” to close the query expression.
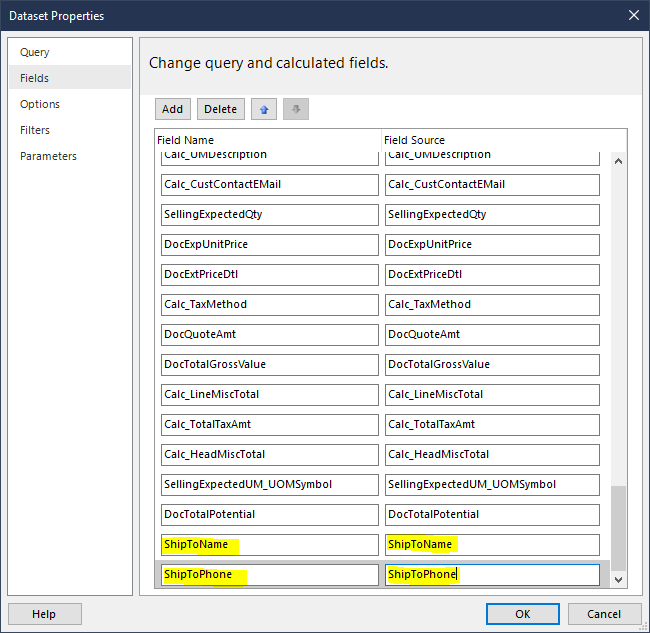
With the Dataset Properties window still open… click on “Fields” on the left hand side.
We want to “Add” and “Query Field”…

Add the fields here that you just added to the query expression. If you used as “AS” statement… that’s what you’ll call them:
Click OK
SAVE
Now you can add those fields in your SSRS report… save… upload… test.
