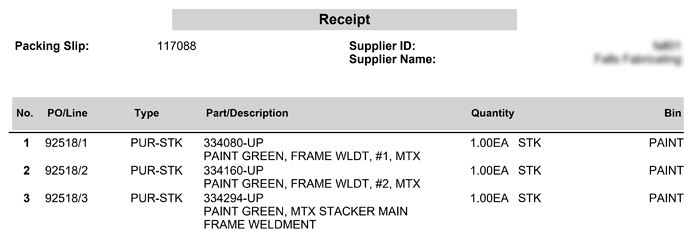
Working with the receiving team we found that it is really helpful to print the inventory Movement report after receiving the parts into inventory so they have a put-away list to work with.
So I added some buttons

Here’s how I added the buttons.
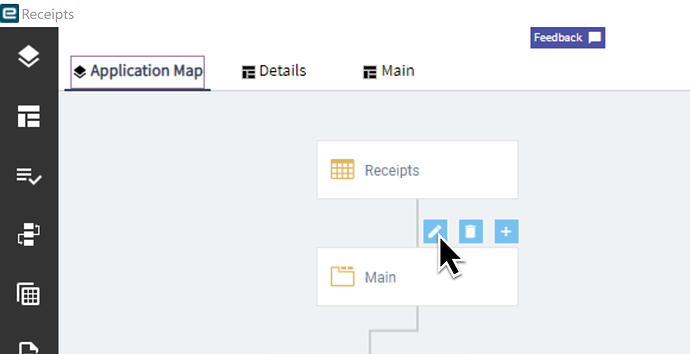
Open App Studio and select or create a new layer.
Edit the “Main” screen.
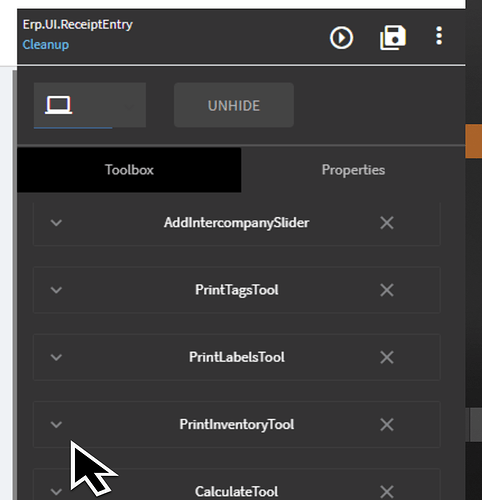
Select the top bar
Click on properties to see the overflow menu
click on the PrintInventoryTool
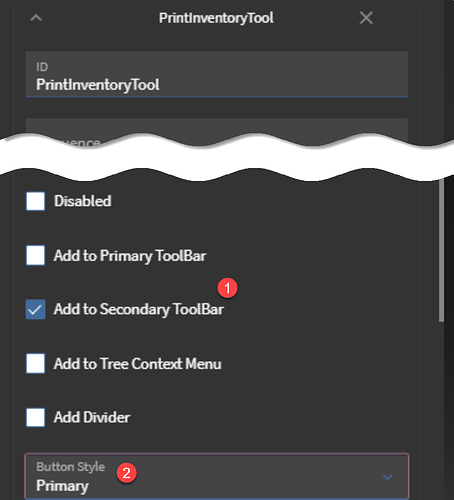
Scroll down
- Select Secondary Toolbar
- Select Primary or Secondard Button style
Here’s the modified report - took off the costs to make it easier to read.


