Please read this carefully and pay attention to the warning at the bottom. I did this entire thing from memory and its been a while since I have set one up but I am pretty sure I got everything. Let me know if you have any issues and if it works well for you please give credit where its due ![]()
Install IIS 6.0 on a Windows Server in your network. IIRC you also need to enable SMTP Server manually. 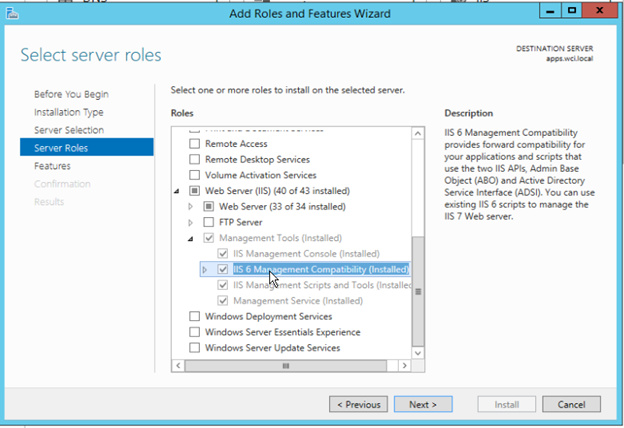
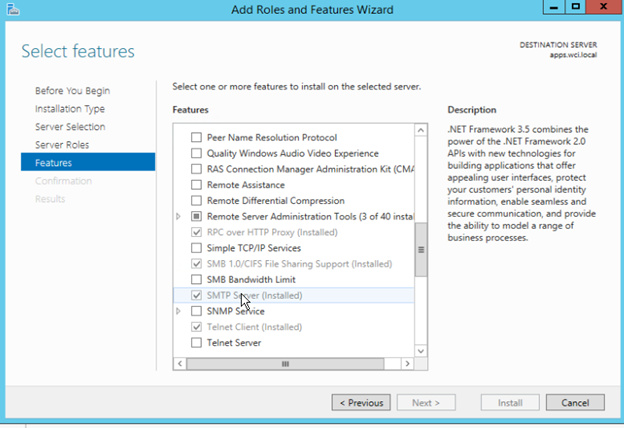
Once these are installed then (you may have to reboot) you should open IIS 6.0 Admin Console 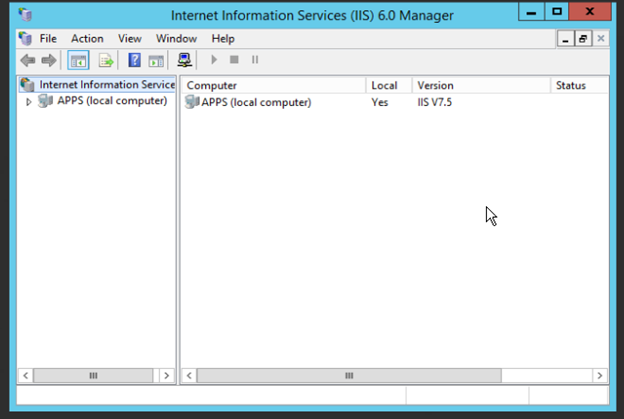
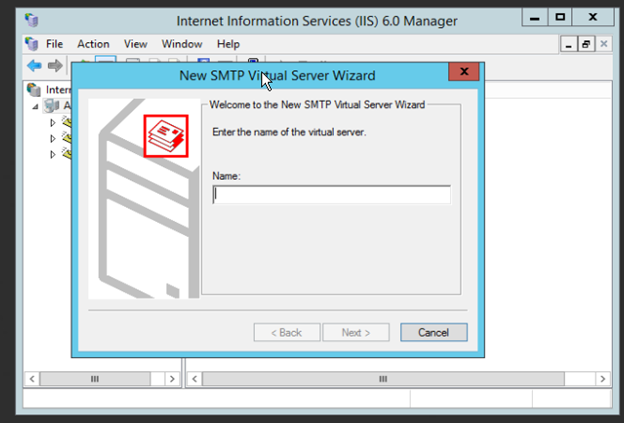
This name doesn’t really matter THAT much. Just something descriptive.
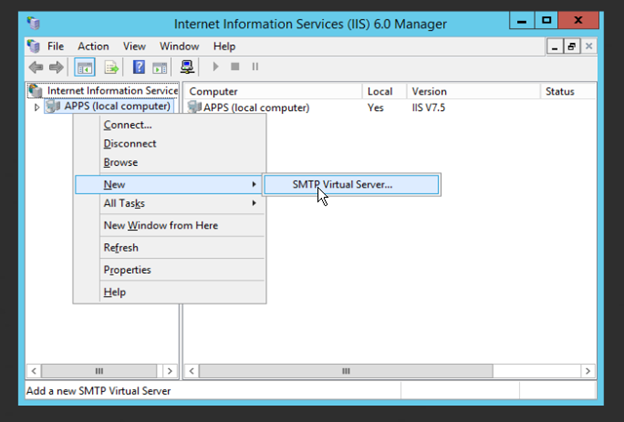
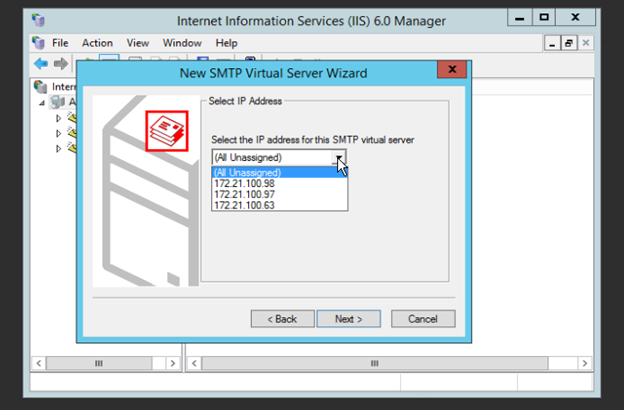
Depending on your environment pick the IP you want to use. MOST deployments will just be ‘All Unassigned’
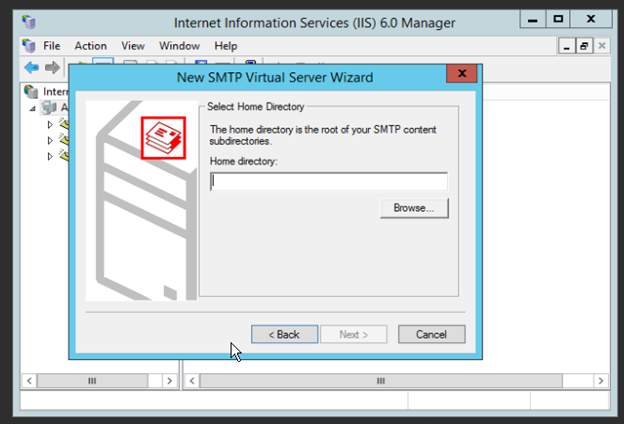
I usually make a directory right in C:\inetpub<DESCNAME>
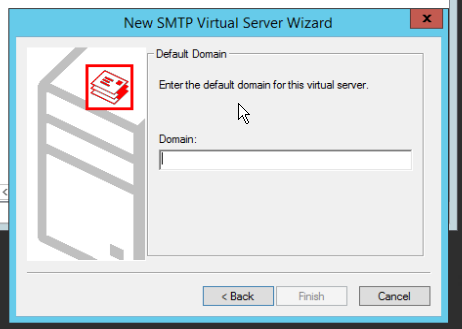
DO NOT put your actual email domain here. That would cause this SMTP service to try to accept the mail itself. Generally I put my .LOCAL domain in. e10help.local for example.
Right Click and open the Properties for the newly built Email Service.
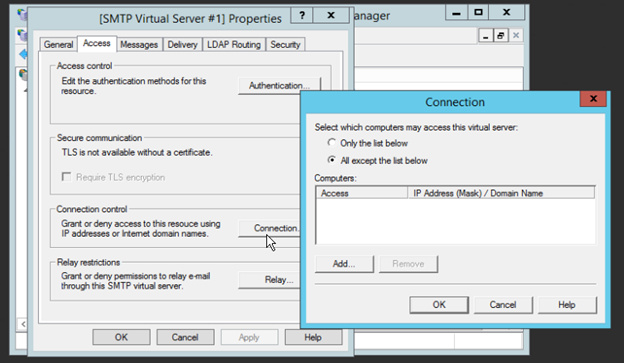
On the Access Tab Click ‘Connection’ and make sure ‘All Except’ is the chosen option’
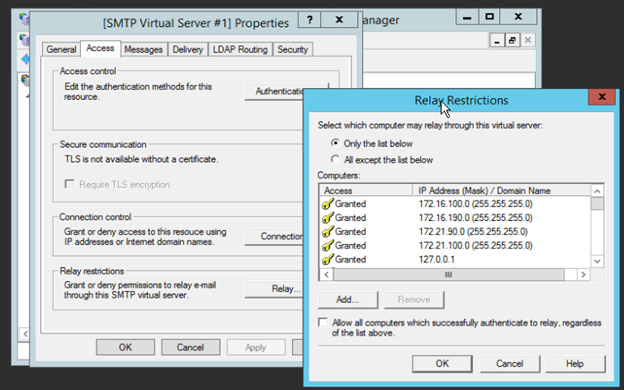
Then click ‘Relay’, select ‘Only the list below’ and add the servers that you EXPECT you receive email from. BE 100% SURE YOU ARE SECURING THIS AS ANY EMAIL WILL BE RELAYED.
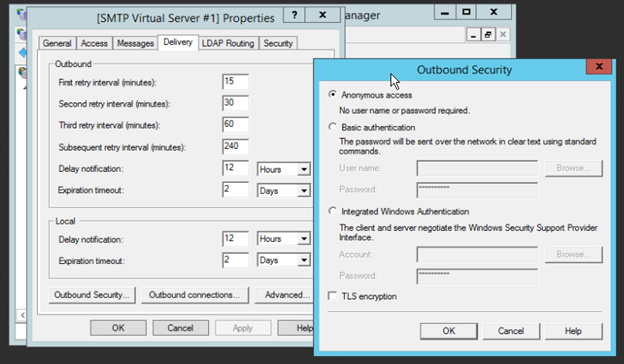
Next on the ‘Delivery’ Tab click ‘Outbound Security’ make sure that ‘Anonymous access’ is selected and ‘TLS’ is disabled.
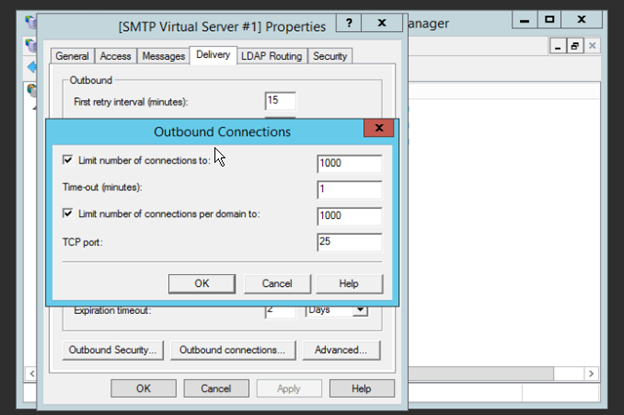
Click ‘Outbound Connections’ and set the port to 25.
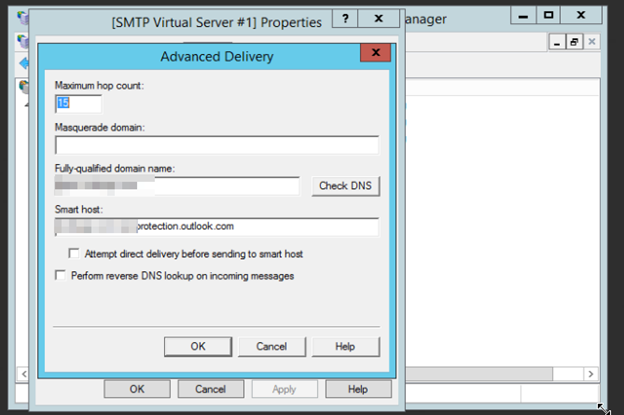
Then on ‘Advanced’ set a local ID for the FQDN ‘in the case of this server it would be apps.epiusers.help.
Then for the smart host you need the MX record that Office 365 gives you.
That is it for the Server side of things. Next we need to setup a receive connector in Office 365. You need your external IP address (http://ipquail.com). Login to Office 365 as an Exchange Admin. Head into the Exchange Admin for your Tenant. Then ‘Mail Flow’ and ‘Connectors’
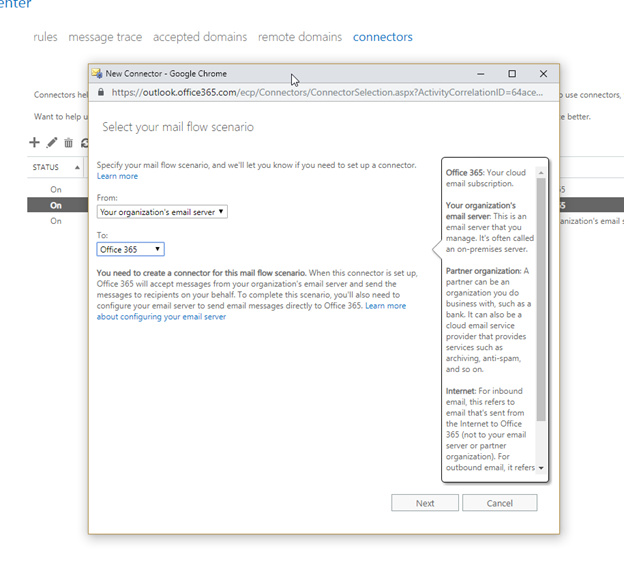
Add a new connector. Select From: ‘Your organizations email server’ and To: ‘Office 365’ Click Next
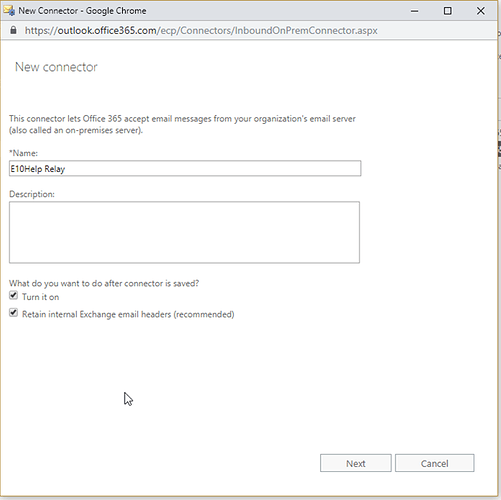
Give it a name. Leave the two check boxes enabled. Click Next
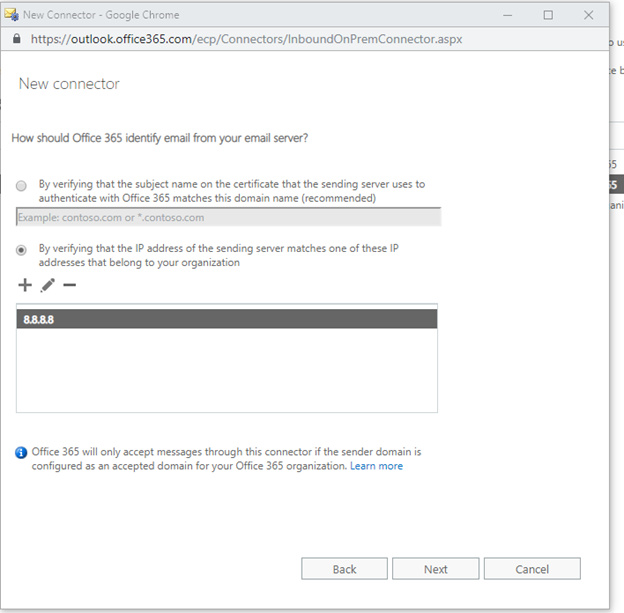
Select the second radio button and add your WAN IP address. (Obviously 8.8.8.8 here is an example because I don’t trust people ![]() ) Click Next
) Click Next
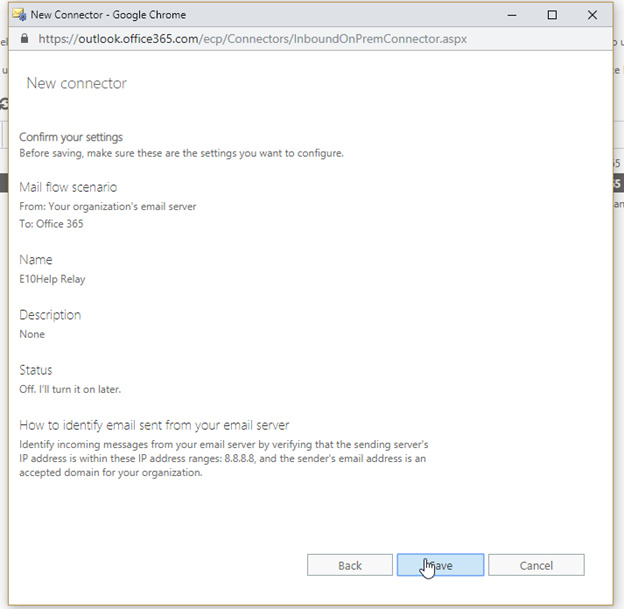
Now Save it.
That’s really it. Now if you point Epicor email sending at port 25 on the server IP locally in your network it should be able to send as ANY address with your domain name as the “@epiusers.help” section. FINALLY AND MOST IMPORTANTLY PLEASE PLEASE PLEASE make sure you block anything else in your network from sending out via port 25. You should do this anyway but If you set this up and I knew about it as a user I could masquerade as any person in the internal domain and send whatever I want.
